There was a time when book binding was done by hand and with great care. These days most of our books are done by Print on Demand with a ‘perfect binding’ technique that takes the entire process out of our hands entirely. However, some people are still interested to know how this is done so that they may try it on their own. Therefore, I have found a vintage, step by step process of doing it all by hand in a 1960 Encyclopedia Britannica set.
Of course, there are some tools involved that may not be so readily available to you today. However, that shouldn’t keep you from accomplishing this task if you are passionate about doing it. So, don’t be afraid to improvise! It just takes a little creativity and time (just like in the old days)!
Step 1
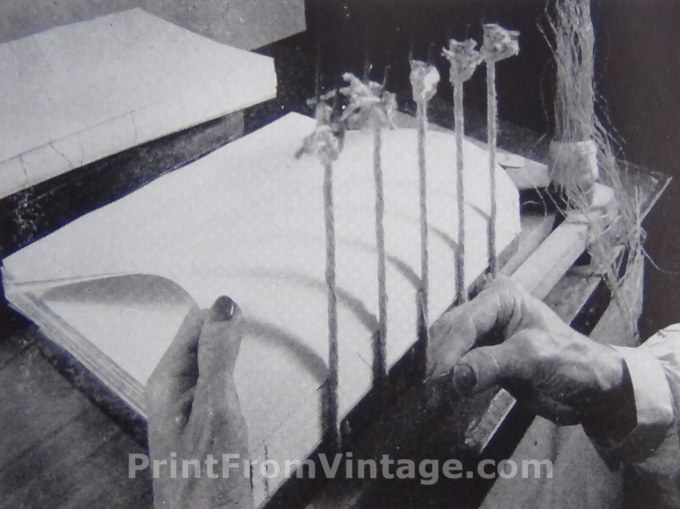
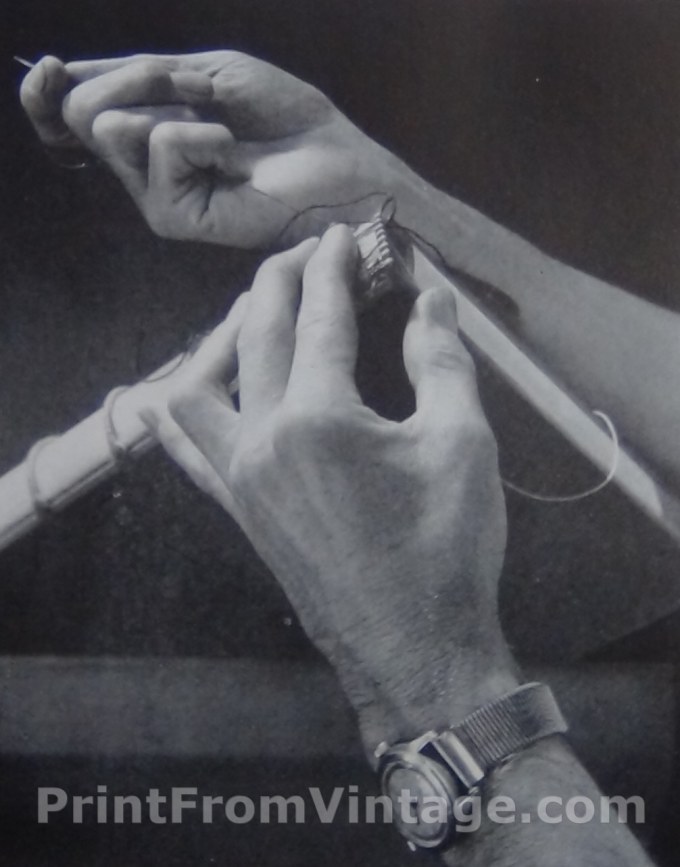
Sew large hemp cords to the book with a thread that passes through the center of all the folded sections (signatures) and also around each cord. (In this photo, the hemp cords appear to be held tight by stationary hooks located at the top).
Step 2
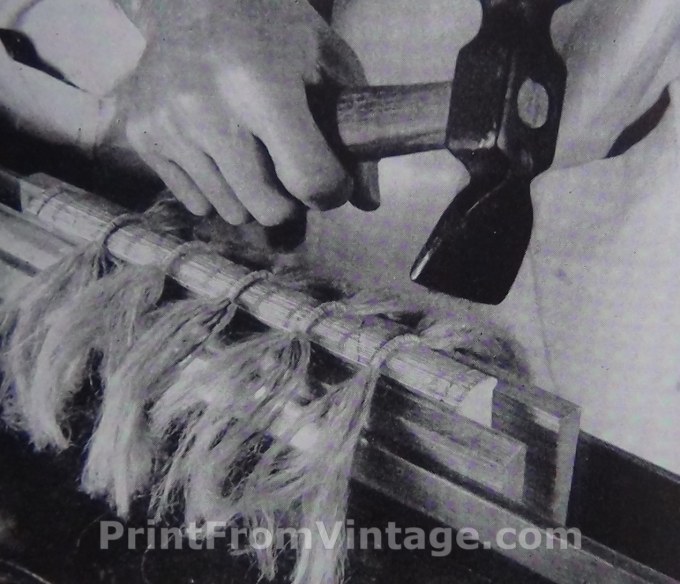
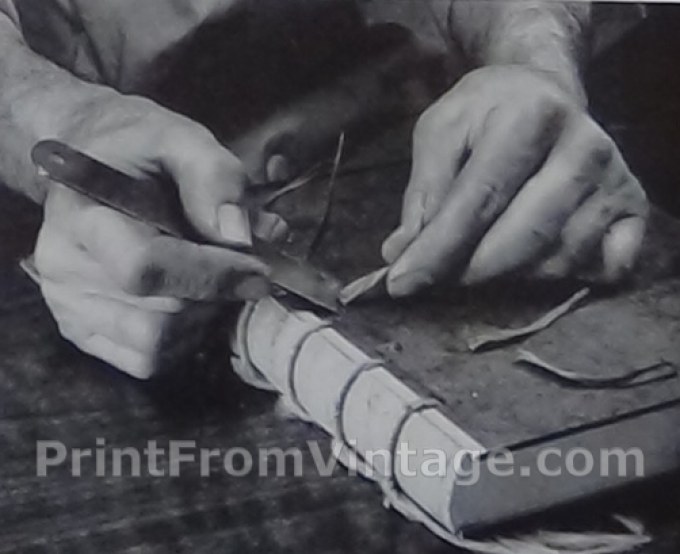
When you’re done with the sewing, you can fray the ends of the hemp cord to soften them. Then apply glue to the folded section backs to create a solid unit (binding).

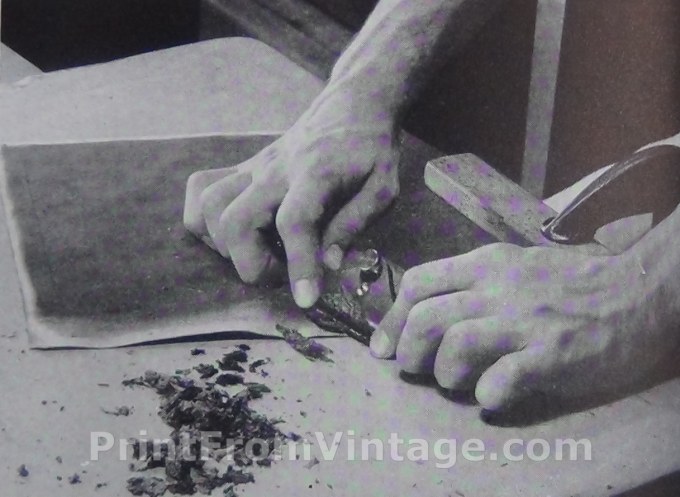
Step 3
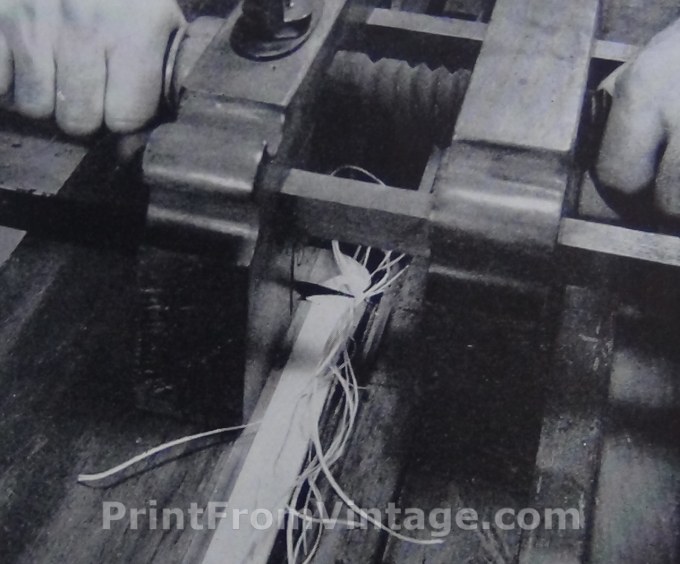
The backbone of the book (spine) is made convex by light hammer tapping while book is placed in a press for backing. A shoulder is created at both sides of the backbone with the claw end of the hammer.
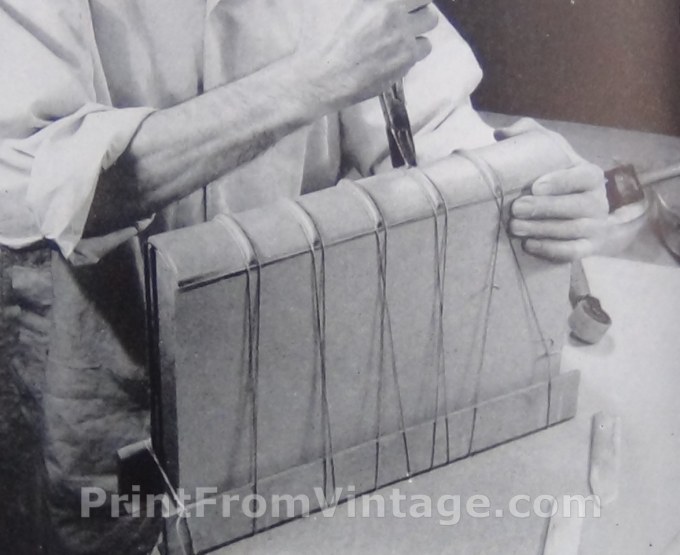
Step 4
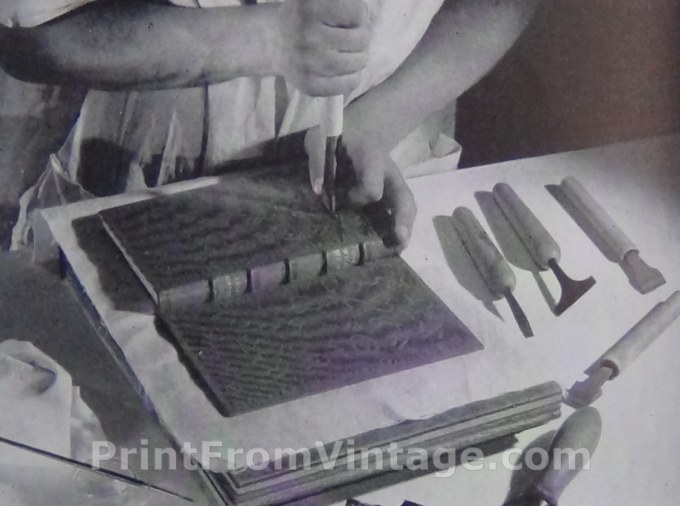
Trim the top edge of the book with a plough (a chisel-like knife held in a wooden frame).
Step 5
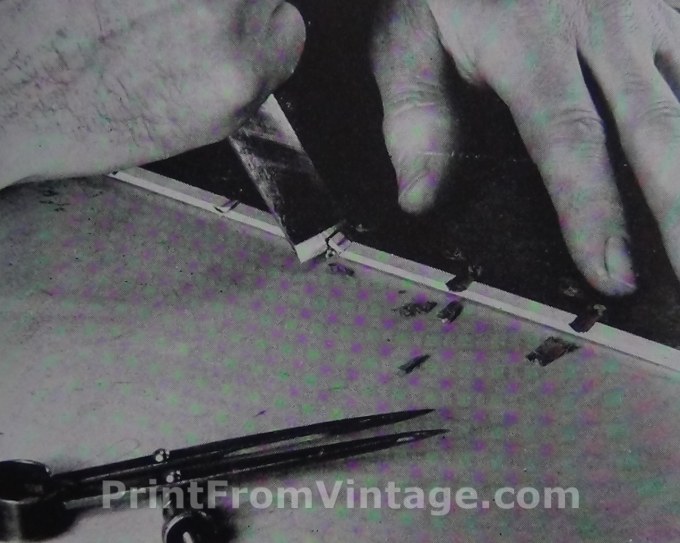
Punch two holes near the backbone edge of each cover board opposite the sewing cord. Grooves are forced in the boards to accommodate the cords.
Step 6
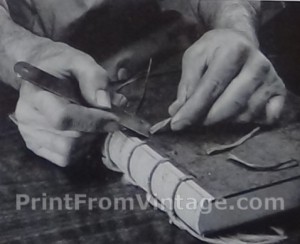
The frayed ends of the cords are pasted tight together (looks like a single cord now) and laced through the holes.
Step 7
Headbands (silk threads woven around a strip of leather) are sewn to the top and bottom edges of the backbone and anchored to the sewing thread in the folded pages (signatures).
Step 8
Thin the leather (cover) slightly before applying it to the book. (I am assuming that this will be glued).
Step 9
Wrap cord around the book to hold the leather between the band (raised portions over the sewing cords) in place until it dries. Protective strips of wood are placed on the fore-edge to keep the cords from indenting the wet leather.
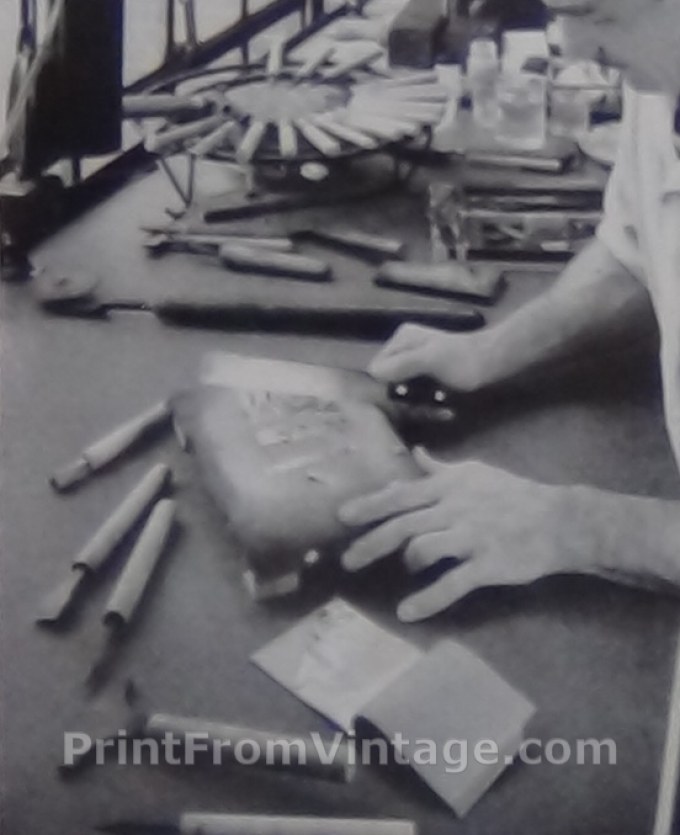
Step 10
Cutting gold leaf to an economical size before applying it to binding with a wad of cotton. The gold is only 1/250,000 of an inch thick.
Step 11
Decoration and lettering can be tooled ‘in blind’ or gold. Pictured below is a heated brass hand tool to create ‘blind’ decoration by pressing it into the wet leather. Gold tooling requires the depressions to be painted with egg albumin and then gold leaf laid over the area with the heated tool pressed into the depressions again. Any surplus gold leaf is then removed with a ball of crude rubber.